how to configure Hikvision IP camera with NVR? Here, Some steps are there for how to configure Hikvision IP camera with NVR. To add an IP camera with Hikvision NVR, firstly find the default gateway of the existing network(if any). Then define the IP address of each camera according to the default gateway. For example. If the default gateway is: 192.168.1.1 then camera IP must be: 192.168.1.80.
To find the default gateway Go to computer > Start>Run > cmd> type ipconfig
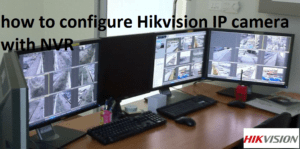
The NVR is a device by which you can connect the IP cameras and record the video of them and got the footage whenever you want. So before start how to configure Hikvision IP camera with NVR have a look at the summary of steps
Summary of steps how to configure Hikvision IP camera with NVR.
Download SADP or iVMS-4200 from given link. After installing it run the setup.
Connect the IP camera to the computer directly
Open SADP, and it will detect the online network cameras in the LAN and list the device information including IP address, subnet mask, port number, device serial number, device version, etc.,
Step 2. Setting the IP Address of Network Camera
Now You can change the IP address of IP camera according to your network. For example, NVR IP address is 192.168.1.200 then IP camera address should be like 192.168.1.XXX. So change it accordingly.
Note: Default IP address of Hikvision IP camera is 192.0.0.64 and the port number is 8000. The default username is admin, and password is 12345.
Right-click the mouse at NVR screen when you in the live view mode to show the right-click menu of NVR.
Here, Click on Add IP Camera and the following window will open
All cameras with same network series will be displayed in the list. Click the add button from the list to add the camera into the NVR.
Now you can find all added cameras from the live preview.
This is all about how to configure Hikvision IP camera with NVR. If you have any query regarding Hikvision IP camera setup then you can write us in the comment box.


Leave a Comment