Here, we have given a VMS Client For Windows. We have given in this article the download link for this application for Windows. It is given here for Windows 64 bits and 32 bits. This app is also given for Android OS. The VMS application is reliable and highly successful.
You have to click the link button to get it. The app is in a zipped file. Unzip the file to load and install for PCs. You will also get a thorough installation process for Windows. It is given in three steps.
The first step is to install the Cms Wizard. The second step is given for logging in. The third and last step is to add the device and monitoring cameras.
How Is CMS Wizard Useful In Security Surveillance?
The CMS is very useful in monitoring and tracking. It allows users to view many sites from different locations to remote locations. Thus it makes you aware and vigilant of all the circumstances.
You can track devices, keep the record, send it to other media, communicate, playback, and take snaps of capturing areas. All these things are possible only because of this CMS wizard app.
It can be accessed from any remote location. Thus you are not bound to be present at that location to monitor your work. This way CMS helps us in protecting our work and controlling the system.
Some Important Information About VMS Client For PC
The VMS is CMS software. The full form of VMS is a Video Management System. It is a network management software. The software provides live feeds and records activities for us. It is supported by Artificial Intelligence technology. Thus it is intelligent and smart to use.
It is designed and manufactured by VMS. This company is a master in developing software and other CCTV equipment. The company is highly recognized in video management. The app is equipped with all the modern functions to operate the CCTV device. You can supervise all the activities from it.
Features & Functions Of VMS Software
This application has tremendous qualities. It can be operated from anywhere. Thus it is not cumbersome to operate. Know these features to use them.
 The app provides live feeds
- There is no time lag in showing videos
- The app streams videos with a continuous show
- The advanced networking technology used in the app plays live videos in low networking areas.
- You can connect many devices with this Wizard at a time
- The app can be accessed from any remote location
- From your location, you can operate the functions of the devices
- The app can easily operate the PTZ camera
- You can zoom in, pan it, and tilt it
- The app supports two-way audio. It is a useful feature.
- You can communicate with any person who is on the camera side
- This function also saves you from untoward incidents. You can shout at the suspect by seeing them on the camera.
- The software supports sensors.
- It can easily detect audio and motion
- Any suspicious action triggers messages and alarms to save the user.
- You can pre-set any sensitive zone. When anyone enters those areas, an alarm triggers and you get alert messages.
Install VMS Client For Windows OS
To install the device on the Windows OS, you have to click the link button. The file is given in a compressed form. You have to decompress the file before loading and installing it. The installation process is also illustrated here with images and diagrams.
You can take the guidance from there. It is shown here in three distinct steps. The first step is installation. The second step is to log in to the application. In the third step, you have to add the device and monitor cameras.
Install VMS Client For Mac OS
The VMS software is not given for the Macintosh PC. So the link is not given. But if you want to monitor the device on an Apple PC, you have to take the help of cross-platform apps or Android emulators.
So you have to load Windows or Android OS over Mac OS. This way you can watch cameras on an Apple PC.
Install VMS Client For Android OS
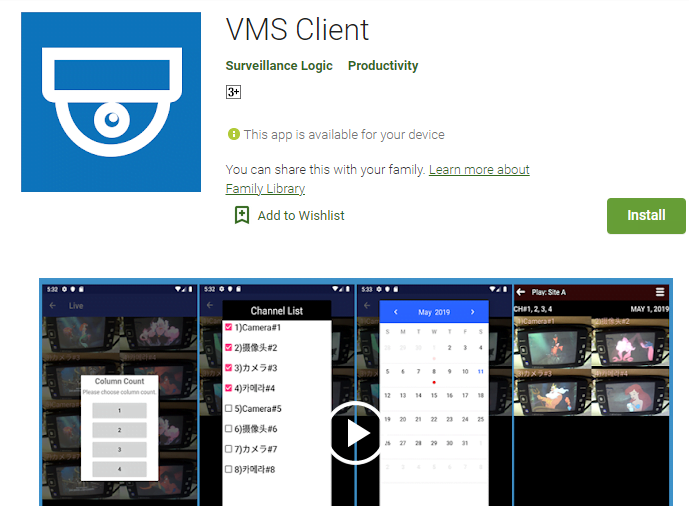
To watch cams on the mobile phone, you have to install the app given below in the link. The app is also given on the Google Play Store. Click the link and get the app. After the installation, go for add the device.
You can add them by scanning the QR Code. After that follow the instructions and the device will appear on the screen.
Install & Monitor VMS For Windows
To install and monitor, you have to un-squeeze the VMS file. After that, you will get the application setup link. Double-click it to load and install. The full process is given below for better perception. It is available in three steps.
Step-1 Install The Software
To install the app, we take the setup file of the application and double-click it. The following window opens for us.
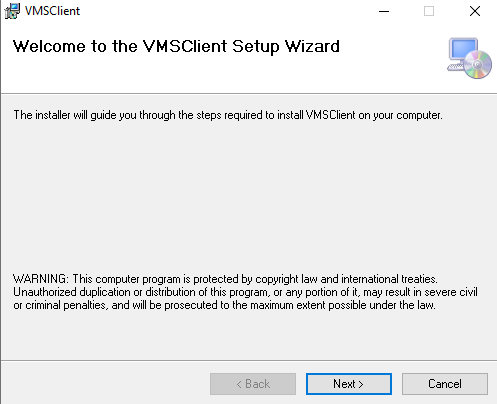
The first page of the software appears. The app welcomes its users. It assures you to guided through the installation process. Press the next button for the next level.
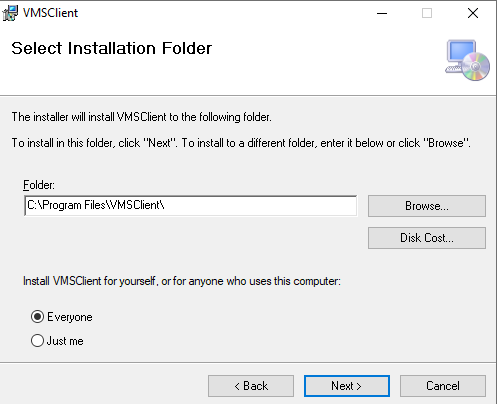
On this page, it is given to select the folder and the path to load the app. Select your location and folder. The folder where you want to download the root file must be empty otherwise an error may occur. After that press the next button.
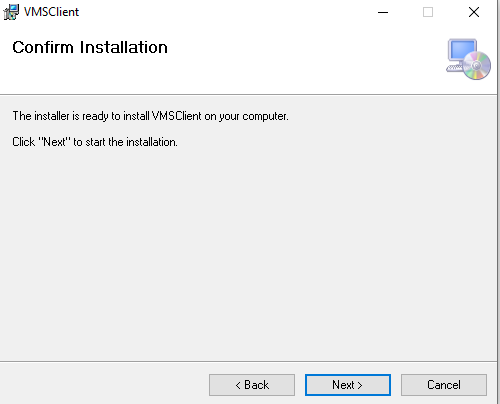
This page informs you that the installation process is ready to begin. The moment you click the next button on the page, it starts loading the content. Press the next button.
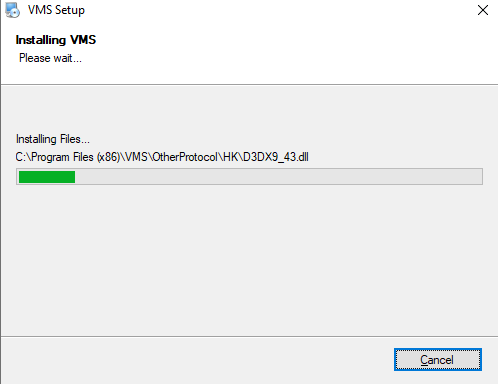
The app is loading in the folder. It is only a matter of a few seconds to install the file. After the installation is over, a window will open. it will tell you about the status.
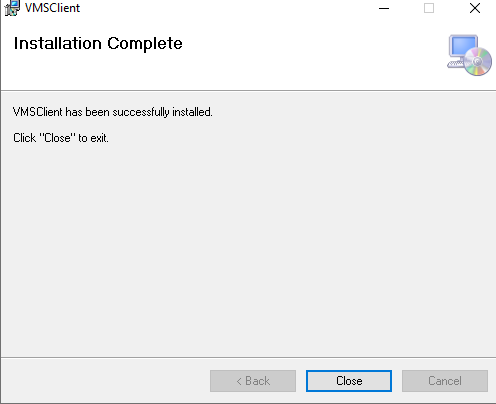
It is showing that the installation process is over. The app is installed successfully. Close the window. We have installed the app.
Now we will go to the next step. In this step, we will go for the login of the software.
Step-2 Log In to The CMS Application
To log in to this app, you have to double-click the icon of the just installed Wizard. This page will appear.
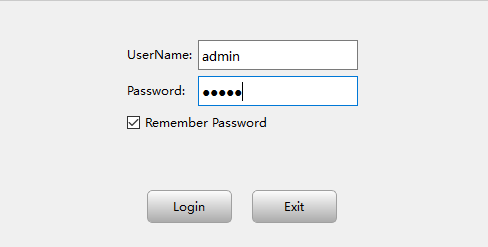
Here, you have to give the username and the password. You can choose as per your liking. We have put here the username-admin and the password as admin. Put in the username and the password. After that press the login button.
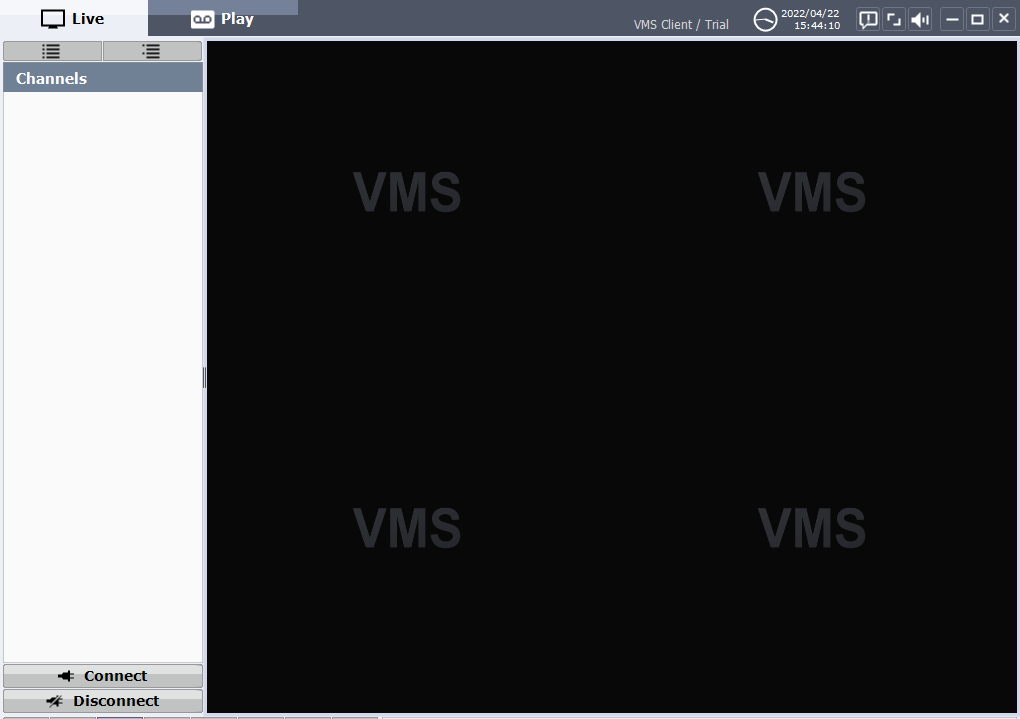
The app will take us to the homepage. It indicates that we have successfully logged in. The login process is over. We will move to add the device and then go for monitoring.
Step-3 Device Addition & Monitoring Of The App
To add the device we have to go to the homepage.
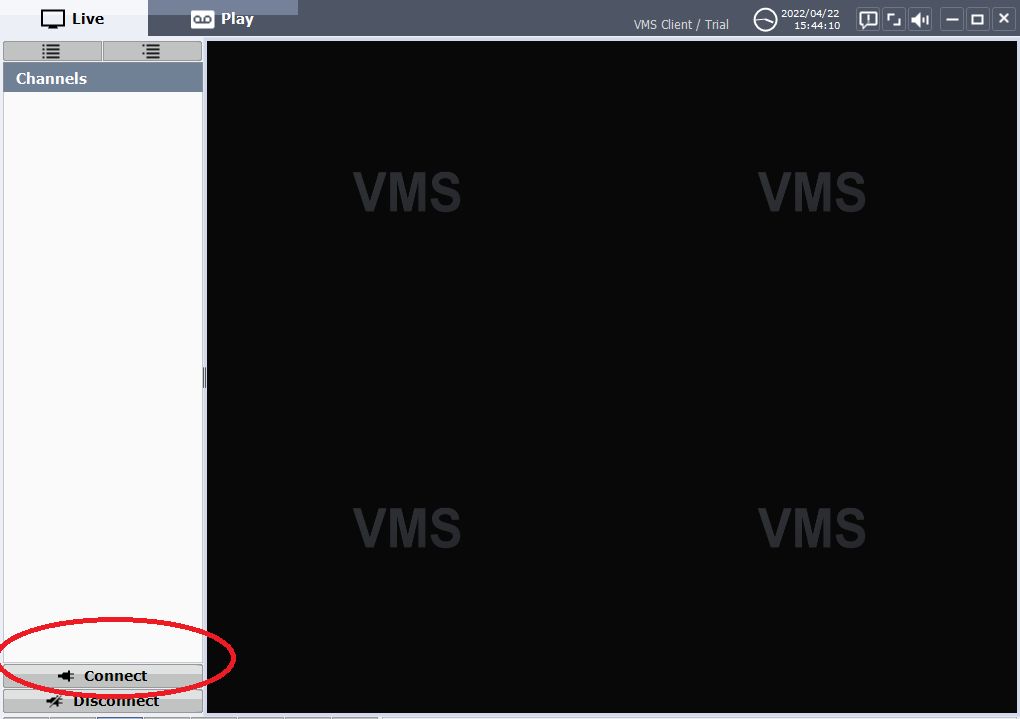
This homepage indicates the Connect button. Click that button to add the device. When we click that, we reach here.
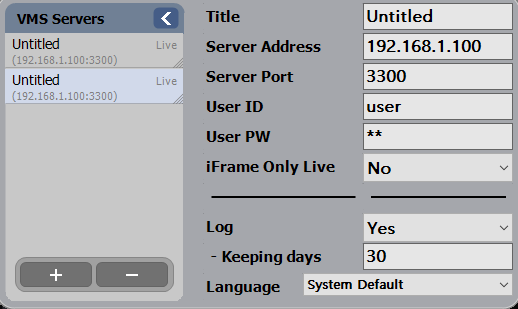
It gives the server address. Put in the IP address and press enter. The device will be added. you can add other devices in the same way. When the device is added, cams will appear on the screen.
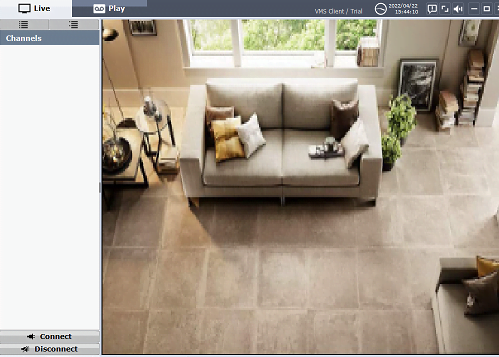
This way we are connected with the device and monitoring begins.
We have gone through all three steps here. Multiple devices can be added to monitor various sites. This is the beauty of the CMS.
Conclusion
The VMS for Windows is given here. we have given here the link for Androids OS, Win 32 bits, and Win 64 bits. The link is in compressed form. We were taught to decompress them. The software is installed to demonstrate for Windows.
We hope that it will help you. If you have any queries regarding it, please share them with us. We will be delighted to respond to you.
Thank You.

no comment
Thanks
Google drive disabled download of this files 🙁
I apologize for the inconvenience you’re experiencing with the Free Download VMS Client For Windows. It seems that the download link is currently not working, showing a 404 error. Unfortunately There is a technical problem on the website due to which some software download links are not working. We are working on it, and once it is fixed, we will inform you.