Lorex Cloud For PC is a CMS Wizard. Here, in this article, we are going to share with you about this software. It is CMS Wizard that connects multiple devices with it. We will give you the download link for Windows OS, Mac OS, and Android OS. You have to click them and get those files. It is given here in a compressed file format. You have to decompress it before installing it on PCs.
We have also demonstrated the complete loading and installation process for Windows OS. It is given in the step-by-step formula. You follow them and you will be able to load and install it for your PC. It is easy to do.
These days cameras are installed at different locations and monitoring is done from some other location. It has been made possible with the help of the CMS Wizard.
What Is A CMS & What Are Its Advantages?
A Content Management System is software that can edit, modify, keep, and transfer data as per requirement. It helps track multiple surveillance devices from different locations and gives us access to monitor them from one place.
So the remote access of those devices on a single screen becomes possible.
It is very advantageous as it gives us the freedom to view multiple cameras from a remote location. It saves our energy and time, which otherwise we have to spend on inspection. It reduces the number of manpower used to supervise those locations.
It reduces the project cost. It can keep records, record them, and in the time of need we can playback them. It is good for security and transparency.
What Is Lorex For PC Software?
It is a CMS app that is designed and manufactured by Lorex Securities. This company produces security surveillance products, doorbells, sensors, and floodlights. This application makes cameras visible by connecting to them and tracking activities. It can show more than 256 cameras at a time on the PC screen.
This application is available for Windows OS, Mac OS, and Android OS. A comprehensive analysis has been given to make it more user-friendly. The step-by-step process to upload it and install it on Windows PC has been practically given to clients.
They can get a hint from here and do it themselves for their PCs. For Android OS loading and installation, it is mentioned in the next section.
Features Of Lorex Cloud For Windows & Lorex Cloud For Mac
This application is a superb mode to view cameras from remote areas. It is designed to give excellent monitoring and viewing. It has functions that make the picture quality stunning and capturing better. Following are its features.
 It is easy to set up and install. It gives full control over devices
- It gives us live video streaming irrespective of the fact that how far away the devices are installed
- It can record videos, playback them, track activities, and take snaps or record them
- You can configure devices from your location and use them
- The sensor can detect motion and activity. It can send you push notifications sensing any suspicious activity. The alarm is given that howls realizing any intrusion, etc.
- The two-way audio is for conveying any message across to the person on the device end. It can also be used to chase away any threat on the camera end by screaming or raising alarms.
- The resolution it relays is high.
- The networking and connection of the devices are super users friendly
- It can operate a PTZ camera from the monitoring location. You can pan, tilt, and zoom the device.
Download Free The Lorex Cloud For Windows OS
Here, you will get the download button for Windows OS. It can be loaded by clicking the file. It is given in a squeezed format. You have to extricate the data to install it on your PC. The installation process is given point by point. No point has been missed. You can grasp them easily by simply going through them.
Give the file a path and folder and it will download every content there. After the installation part, you have to log in to the CMS. Once you have logged in give the User name and password, then go for adding devices. Click the download button here.
Free Download For Lorex Cloud For MAC OS
In this section, you will get the link for loading it on your Mac PC. The downloading process is almost similar to what you have done for Windows PC. You have to decompress the file to install. Give a path and folder name for your content to load.
Set a username and password, add devices, and enjoy monitoring. The link has been given here in the download button forms. Click the link below and get it.
Free Download For Lorex Application Android OS
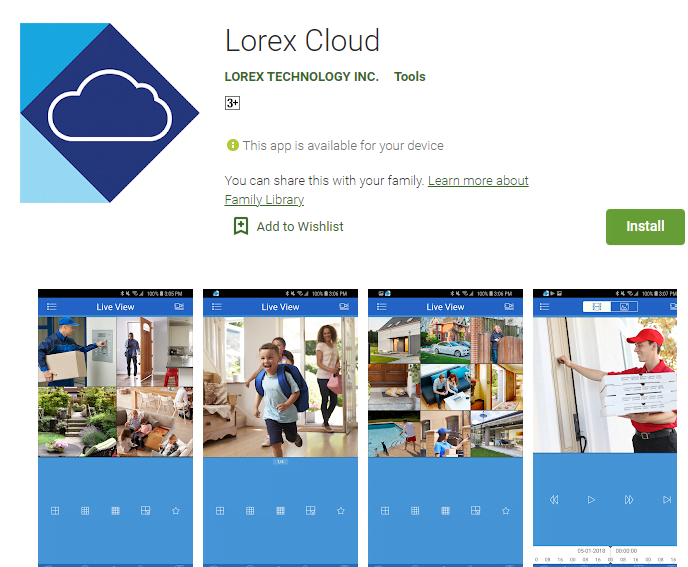
The Android OS is for our smartphones. To get it for mobile, we have to download the application and install it. This application is available on the google play store. Go and search therefor “Lorex App”. Install it. For adding the device you have to scan the QR Code. Scan it and follow the instructions. You will connect the devices.
How To Install Lorex App For Windows OS For Monitoring?
The setup process is easy. For the monitoring, you have to download it. The app is given in a compressed file. Decompress the file and load it on Windows PC. The full installation process, logging in the device, and adding the device part has been given here.
The user can understand it very easily. We have given here every step for complete understanding.
Step-1 Installation Of The Lorex Application
We will learn here how to install this application. For that, we have to double-click the app link. It will open a window for the user where you have to choose your preferred language.
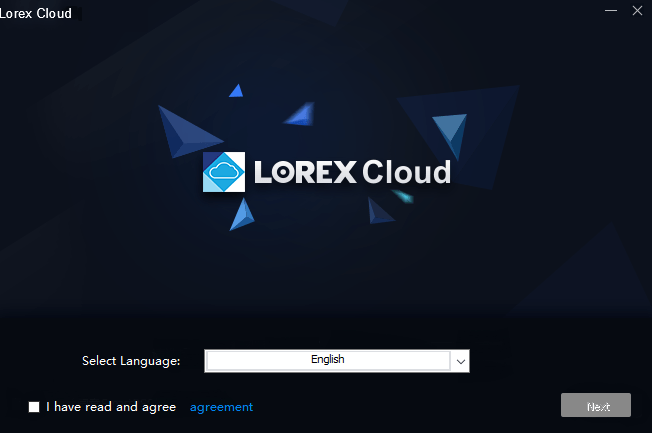
Select your language and read the agreement. If you are ready with this agreement then tick the box and press the next button.
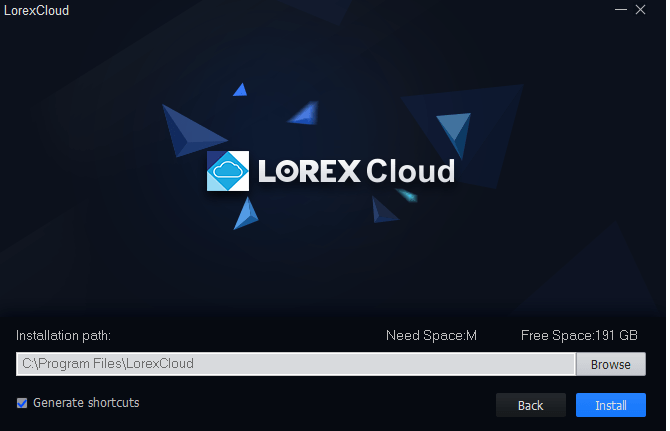
At this stage, we have to select the path where we want to load this content. Give a path and select the folder to contain these files. Mainly we keep this kind of file in the C drive. Select it and then press Install. The moment you push the button, installation begins automatically.
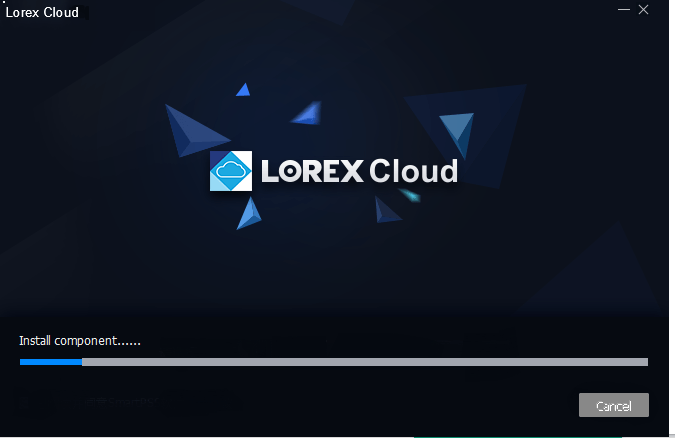
When the installation finishes, it will notify you with the finish message. Check the folder that the content is loaded properly or not.
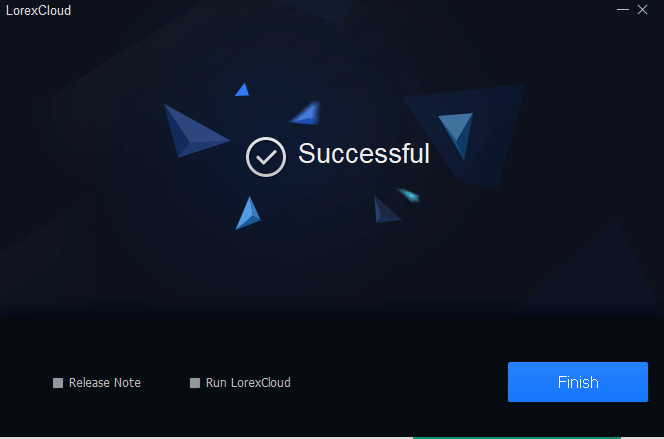
Successful completion is highlighted on your screen. Press the Finish button and the installation is over.
Now we have two more steps to follow. In those steps, we will log in to the application and add the device. These steps are also easy to do. The setup is not difficult. We have to do them with a little caution as any mistake may compel us to repeat the same process.
Step-2 Log In The Application
Here, we have to log in to this app. It is easy. For that, we have to create a password. The password must be a combination of alphabets, numerical, character, and upper cap and lower cap.
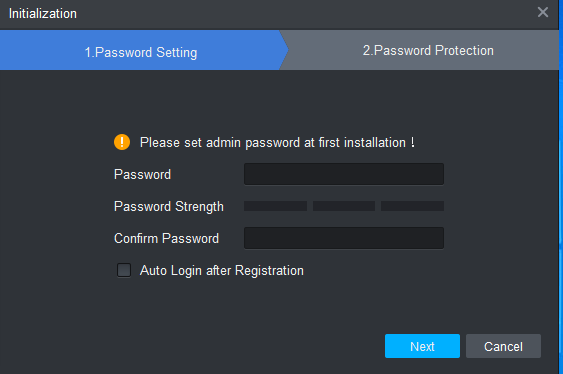
Create any password of your choice. After creating it, Press the next button.
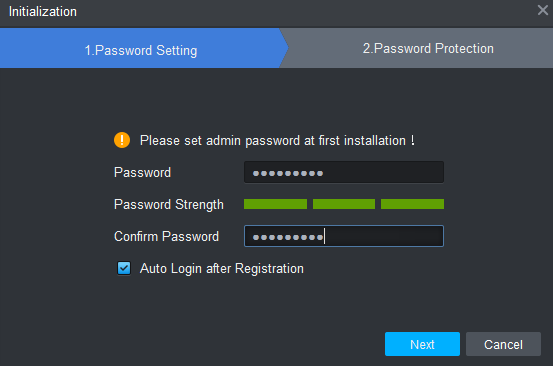
When we press the next button, then it takes us to a new level.
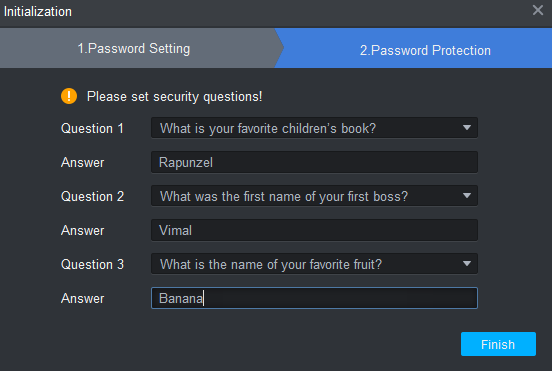
This page will ask you a few basic questions. Answer these questions and you will be able to reach the next level. Answer these simple questions and press the ‘finish’ button.
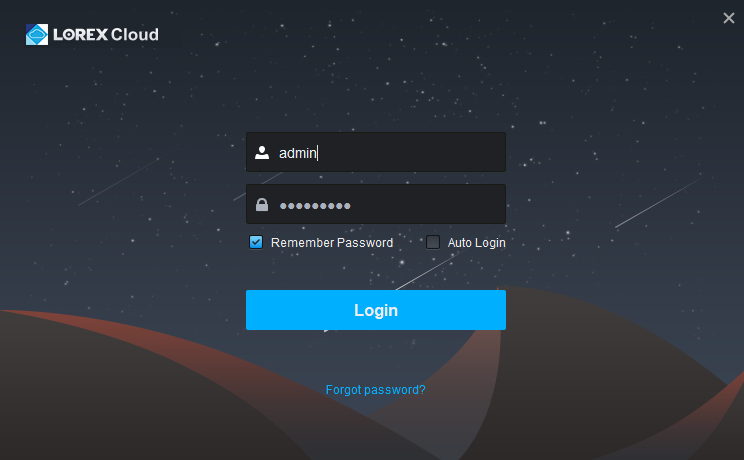
By default, the user id is “admin” and the password is the one you have created for the app. After putting them press the Login button.
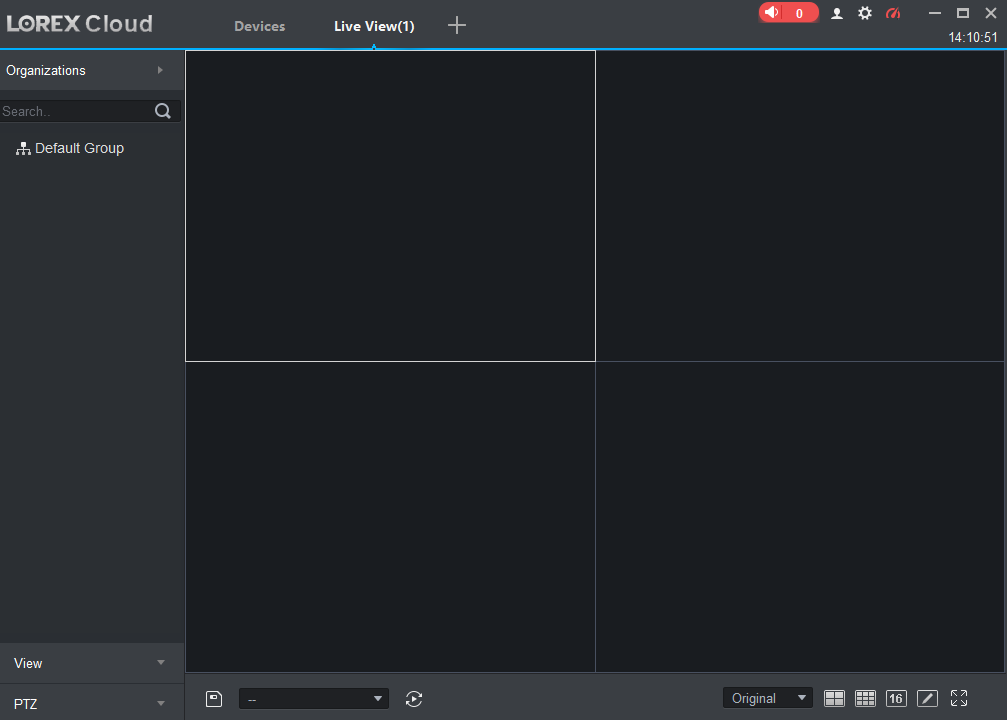
The following screen will open. This way we have logged in. Now the last step is to add the device.
Step-3 Adding The Device & Monitoring The Camera
Here, we have to add the device to view cameras.
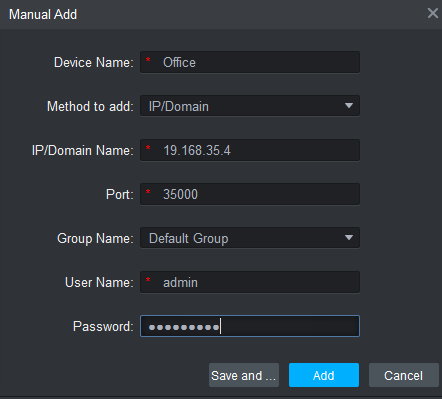
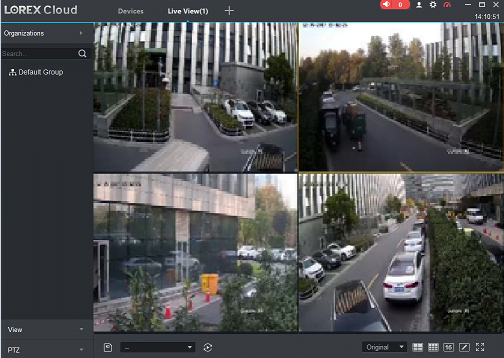
Put in the device’s IP address, user name, and password. After that press the add button. For adding multiple devices you have to do it separately with every device and keep on adding them. The camera will appear on the screen after the addition.
Conclusion
The Lorex Application is thoroughly discussed here. It is the best way to describe it here. It has been done here for Windows OS, Mac OS, and Android OS. It has also been expressed in the figurative form to make you understand better.
Please show your responses in the comment section on this topic. Your opinions help us make our articles better.
Thank You.
