
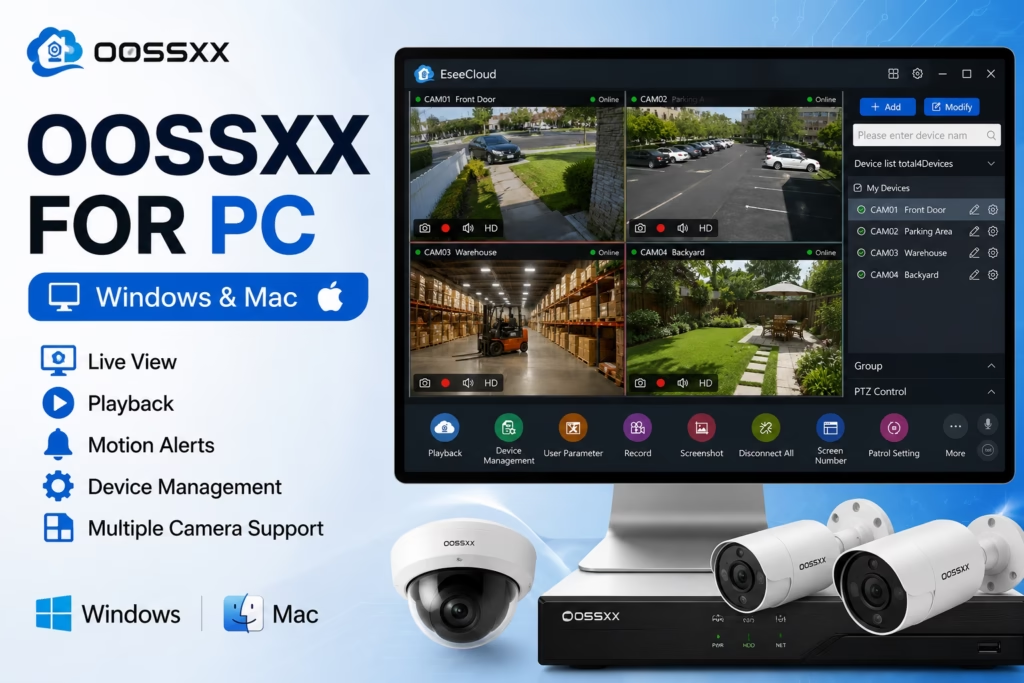
If you’ve got an OOSSXX camera and want to monitor the feed right from your computer screen, the OOSSXX for PC app is pretty much a must-have. It lets you hook up all your cameras in one place so you can watch the live streams and manage your whole setup without any hassle.
The software is officially available for both Windows and Mac, so you can just grab the version that matches your system.
As for what it actually does—it basically acts as your main command center. You can view your live footage, look back at old recordings, manage all your different cameras at once, and tweak your whole security setup right from a single dashboard.
You can grab the download using the button below. Since it’s official software, it’s completely safe and secure to use. Plus, we’ve already tested it out on both Windows and Mac ourselves, so you’re good to go.
About OOSSXX for PC
While we’ve gone ahead and covered everything in detail throughout this post—including a step-by-step installation and configuration guide—let’s first take a quick look at the table below to get a solid overview of what this software is all about.
| Feature | Details |
|---|---|
| Software Name | OOSSXX CMS |
| Version | v3.0.8.4 |
| Developer | OOSSXX |
| Category | CCTV Camera Management Software |
| Compatible OS | Windows 11, Windows 10, Windows 8, Windows 7, macOS |
| License | Freeware |
| File Size | Varies by Version |
| Language | English |
| Device Support | OOSSXX Wi-Fi Cameras, NVRs, DVRs, and IP Cameras |
| Mobile App | Honestview |
| Similar Software | IP Pro CMS |
| Alternate Software | V380 For PC |
System Requirements
It’s also worth keeping in mind the minimum system requirements you’ll need to run this software smoothly on your computer.
| Component | Requirement |
|---|---|
| Operating System | Windows 11, 10, 8, 7 (64-bit recommended) |
| RAM | 4 GB or more |
| Storage | 500 MB free space |
| Processor | Intel or AMD Dual-Core |
| Internet | Broadband connection |
Similar Software: https://cctvdesk.com/ip-provr-cam-eseecloud-for-pc/
Installation & Configuration of OOSSXX on Windows
So, let’s get into the installation. First off, the file you just downloaded is in a ZIP format, so go ahead and extract (unzip) it. Once that’s done, right-click on the installer file and select “Run as administrator” to kick off the setup.
From here, just follow these simple steps below to wrap things up:
Step 1. Installation of OOSSXX for PC
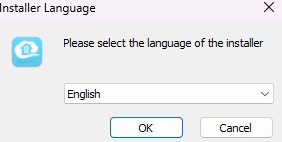
The very first screen you’ll see during the setup looks something like this. You can choose your preferred language here—we’ve gone ahead and selected English for this guide.
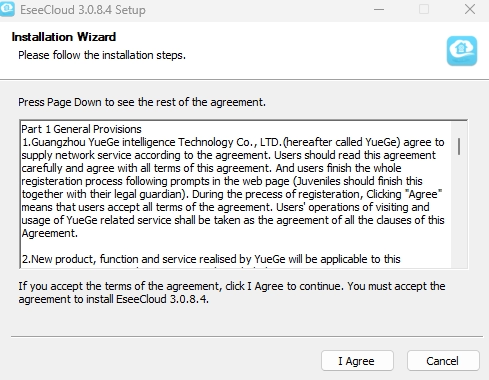
Next, you’ll see a screen like this. You just need to click the Agree button to move forward, but it’s always a good idea to quickly read through the license agreement first.
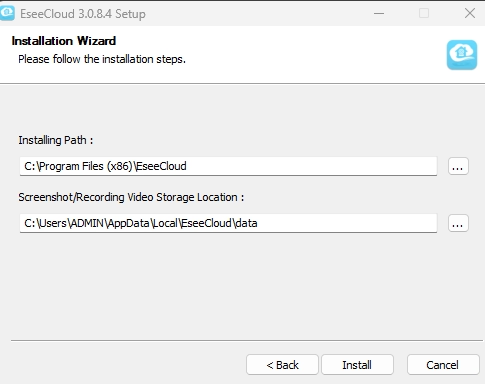
The next screen that pops up will look like this. If you want to change where the software gets installed, you can choose a different folder here. Otherwise, just leave it as the default path and click Install.
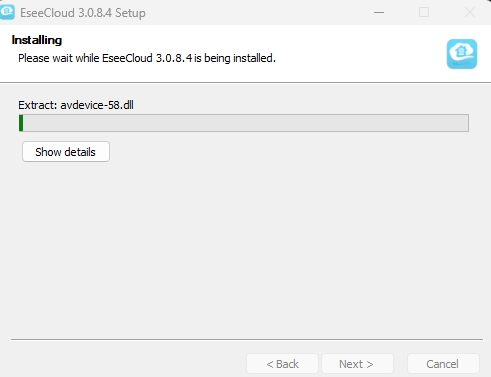
The installation is now underway—just sit back and wait a few moments for it to wrap up.
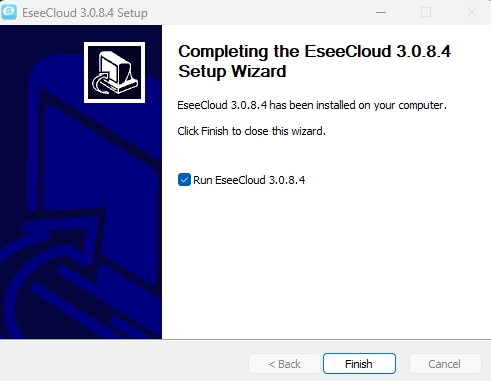
Once the setup finishes, you’ll see a screen like this. Just click Finish to close the installer. Now that it’s officially installed, let’s move on and get the configuration sorted out.
Step 2. Configuration of OOSSXX on Windows
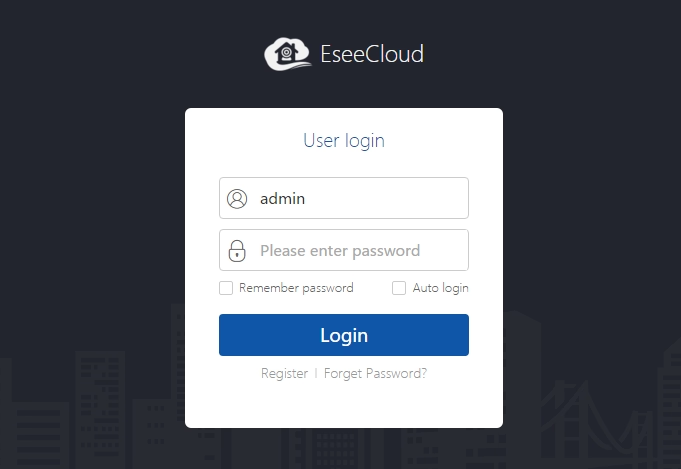
First, open up the software. You’ll be greeted by a login screen. Just enter admin as the username, leave the password field completely blank, and click Login.
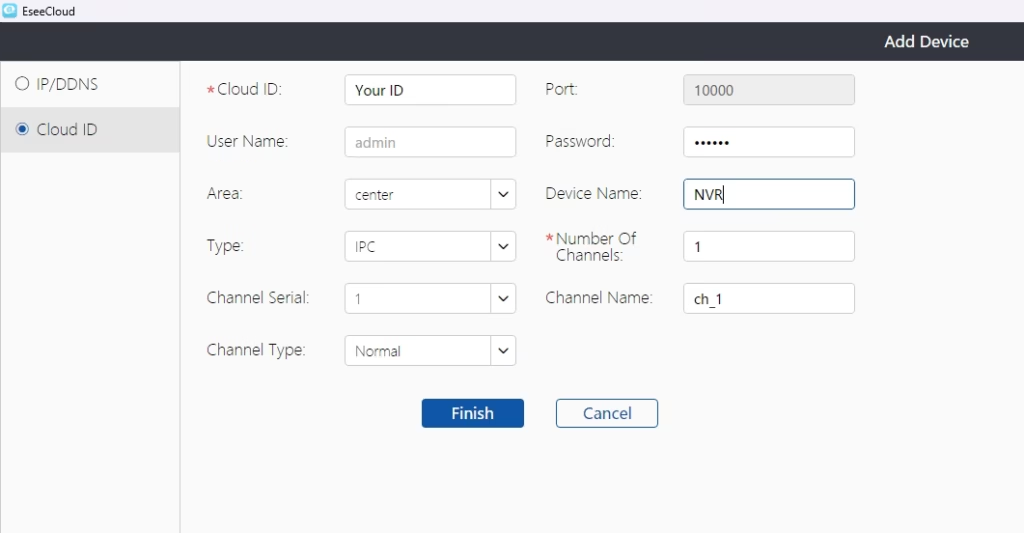
Once you’re logged in, click the + Add button over on the left side, which will bring up a window that looks like this. This is where you’ll need to fill in your device details. Just make sure everything is typed in correctly, and then hit Add.
Step 3. Live View of OOSSXX on Windows
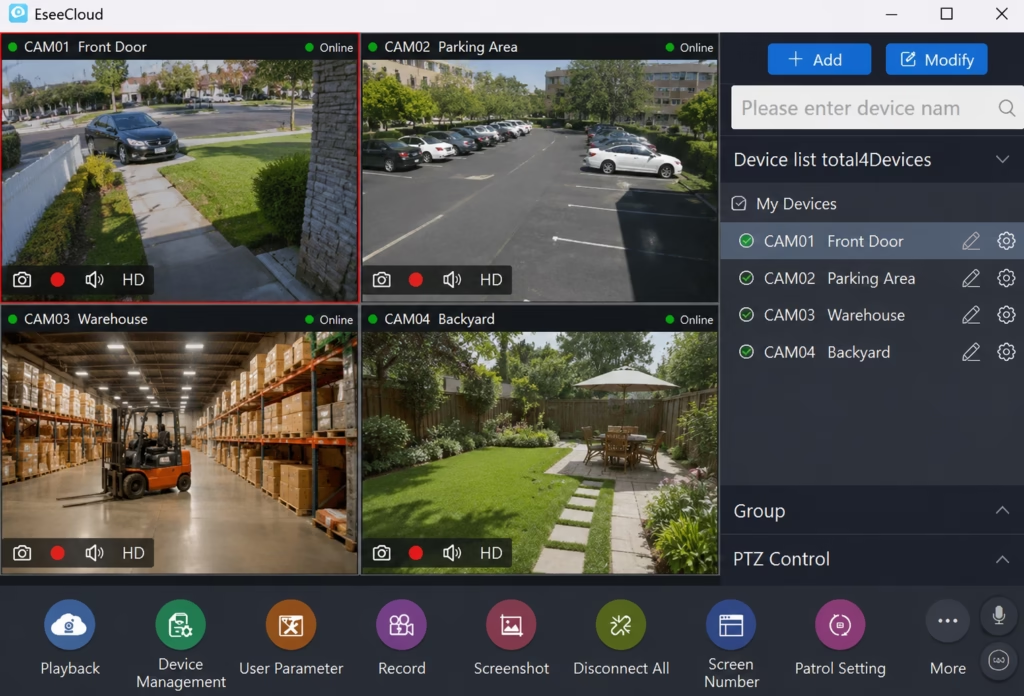
After you’ve added your device, just click on Live View, and your camera feeds will start streaming live right on your computer screen.
Testing Notes
- Tested on Windows 11 (24H2) and Windows 10 (22H2) using the latest OOSSXX CMS.
- Successfully installed and launched without requiring an Android emulator.
- Verified live camera preview, multi-channel viewing, playback, and device management features.
- Confirmed compatibility with OOSSXX Wi-Fi Cameras, NVRs, and IP Cameras.
- Tested on a stable broadband connection for smooth remote monitoring and video streaming.
- Information reviewed and updated for 2026 based on the latest official OOSSXX CMS release.
Final Verdict
The official OOSSXX CMS for PC is the best way to manage your OOSSXX security cameras on Windows or Mac. It provides live viewing, playback, remote monitoring, and device management in one application, making it a better choice than using an Android emulator. If you use an OOSSXX NVR or DVR, the CMS offers a convenient desktop experience for everyday monitoring.
FAQs
Is there an official OOSSXX software for Windows?
Yes. OOSSXX provides an official CMS application for Windows and macOS.
Does OOSSXX work on Windows 11?
Yes, the CMS supports Windows 11 as well as earlier Windows versions.
Can I watch multiple cameras at the same time?
Yes. The CMS supports multi-channel live monitoring.
Can I play back recordings on my PC?
Yes. The CMS allows you to review recorded footage stored on your recorder.
