Here you get the Hikvision DVR Application for free. Hikvision DVR CMS is shared here for Windows 7/8/10/11 and all versions of MAC OS.
This is one of the best CCTV camera brands all over the world and it provides so much good software for their users to manage the CCTV camera system.
If you are looking for Hikvision DVR Software, then you can download it from the link below. This software is for all kinds of Hikvision DVR.
Using this software you can watch your CCTV camera on your PC as well as you can manage the DVR and camera settings.
Hikvision DVR CMS (Windows 11/10/8/7 & MAC)
Here is the link available for the Hikvision DVR App. Using these links you can download the Hikvision software.
If you have the MAC computer then you can also download the software for your MAC PC. After downloading the setup file of the software you may also see the configuration of this software in order to get your CCTV cameras on your computer.
What is the Hikvision DVR Application?
This is the software provided by the Hikvision CCTV brand for their DVR users. The main use of this software is to watch your CCTV cameras on your computer.
By using this software you may also manage all kinds of DVR settings. So if you have a Hikvision CCTV camera system and you want to watch these on your computer then this software takes care of all kinds of your requirements.
Hikvision DVR CMS App
Here you can download the setup file of the software and watch your CCTV cameras on your computer. The downloaded file will be in the compressed format and before installing the file you may need to extract the setup file of the software.
To do this you may use the Winrar software. The setup file is also available for MAC users.
Use of Hikvision Software
Hikvision App is an adaptable CCTV management software for DVRs, NVRs, IP cameras, encoders, decoders, security control panels, video intercom devices, access control devices, etc.
This software has multiple options, including live monitoring, CCTV recording, remote search and playback, backup, alarm management, user management, connect access control, video door systems, security control, biometrics, etc.
System Requirement for Hikvision Software
- Performance Level: Lowest
- Central Processing Unit: Intel® Core™ i3
- Memory: 2 GB DDR3 RAM
- Operating System: Microsoft® Windows 7 SP1 and above (32/64-bit)
- Video Resolution: 1280×768
Main Feature of Hikvision DVR CMS
- Monitoring the Live View
- Watch the recording
- Event Management system
- Remote Playback
- User Management
- Access Control and Video Intercom management
- Time and Attendance management
- Statistics
- Network management
- PTZ Control
Configuration of Hikvision DVR CMS Application
After downloading and extracting the setup file of the Hikvision DVR App, you may need to follow some steps to get your CCTV cameras on your PC.
Before further instruction, we recommend that install the SADP software of Hikvision so you can find the IP address of your device. This will help you to configure the IP address of your DVR/NVR.
STEP 1 # Installation of Hikvision software
Go to your setup file of Hikvision DVR CMS software and double-click on that file. After this, the setup will be asking for permission for the installation of DVR software. Just click on the “YES” button. Now the first setup screen will show you.

On this screen, you can see a license agreement, we recommend reading this carefully. After this click on the acceptance and then press the “Next” button.
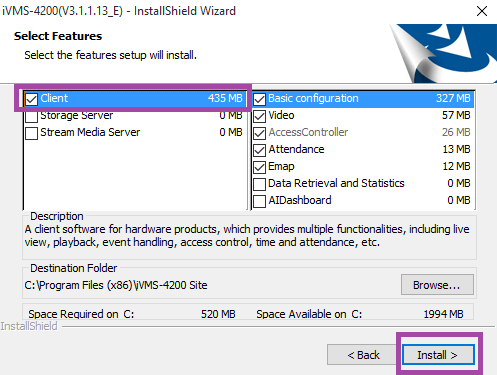
This is the next screen that comes to you. On this window, you will have to select some options. In the left-side pane, you will get three options, client, server storage and stream media server. Click on the first option i.e. “Client” and click on the “Install” button.
If you want to know about “Storage Server” then you may read this IVMS 4200 Storage Server.
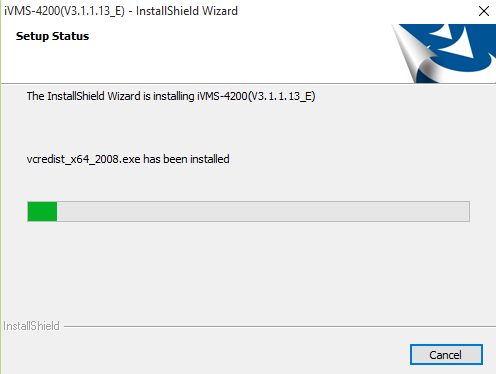
Now the installation process begins. Wait for some time until the process of Hikvision DVR CMS installation is finished.
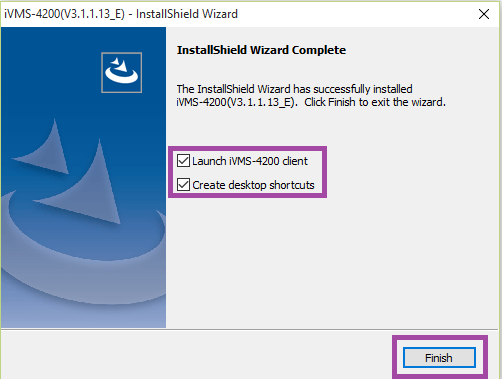
Now just click on the Finish button and your DVR software installation process is finished. Now move to the next step to add your CCTV cameras to the software.
STEP 2 # Login to the Hikvision DVR CMS
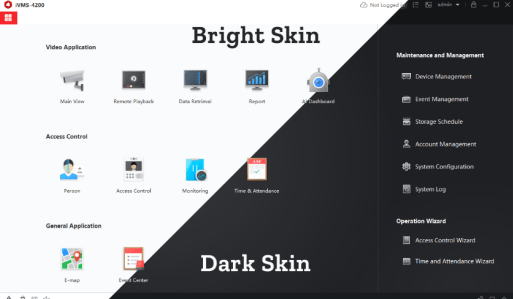
After finishing the installation process, you can find an icon named IVMS-4200 on your desktop screen. Just double-click on that and the next screen comes to you asking for a username and the password for the DVR software.
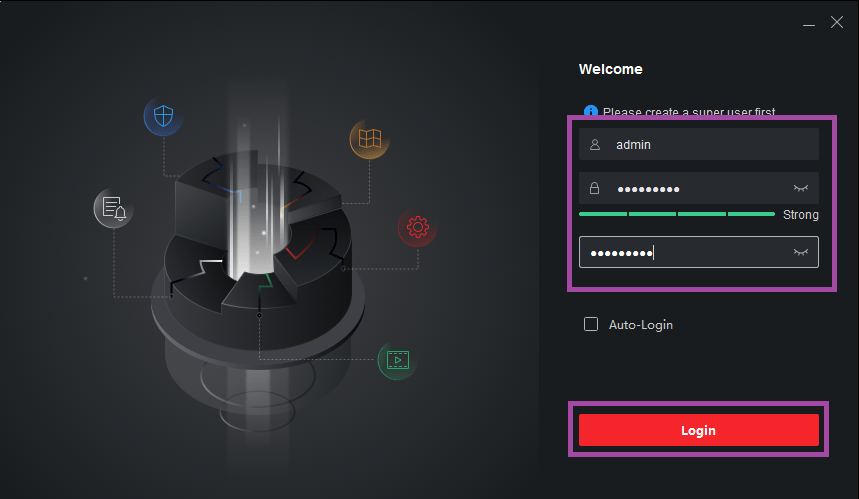
Put admin in the username and a desired password in the password box. Click on the Login button. The next screen will ask you for some security questions and their answer.
Select the question of what you want and answer these as per your choice. These questions and answers will help you when you forget the password.
STEP 3 # Add the DVR to the Software
After login to the software control panel comes to you and has so many different options. Before any further configuration firstly you have to add your DVR/NVR into the software.
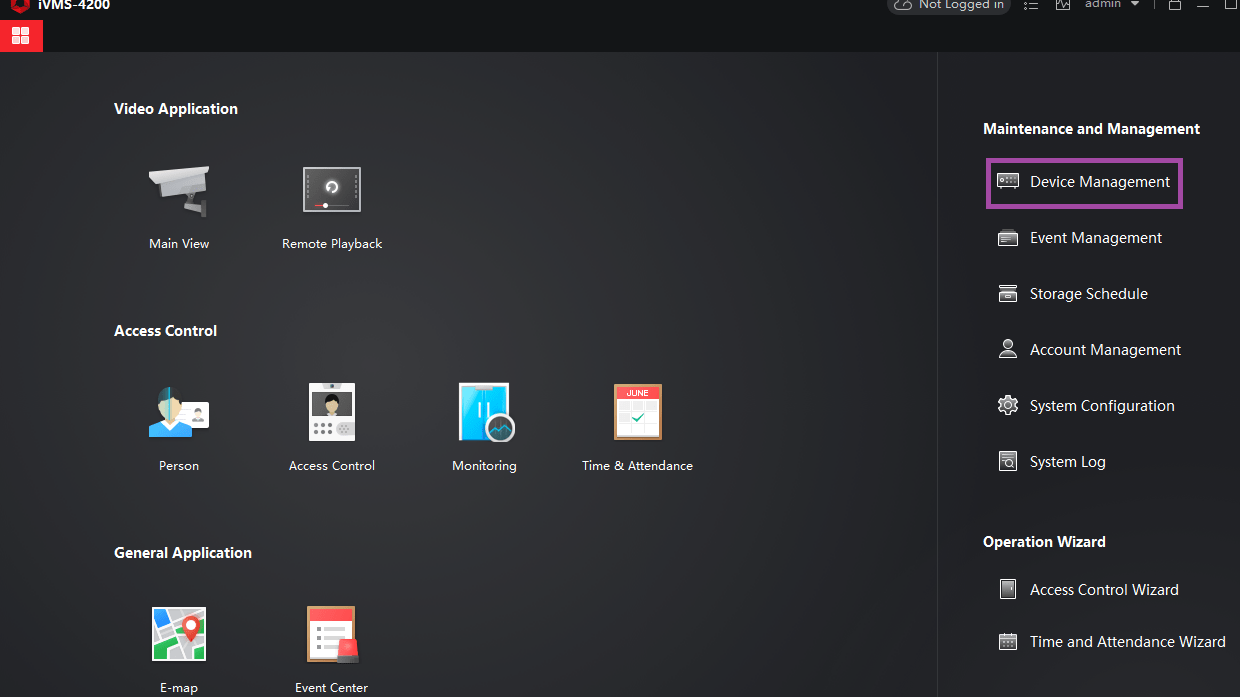
To do this just click on the Device Management option as shown in the picture above. After clicking on that button the new screen comes to you.
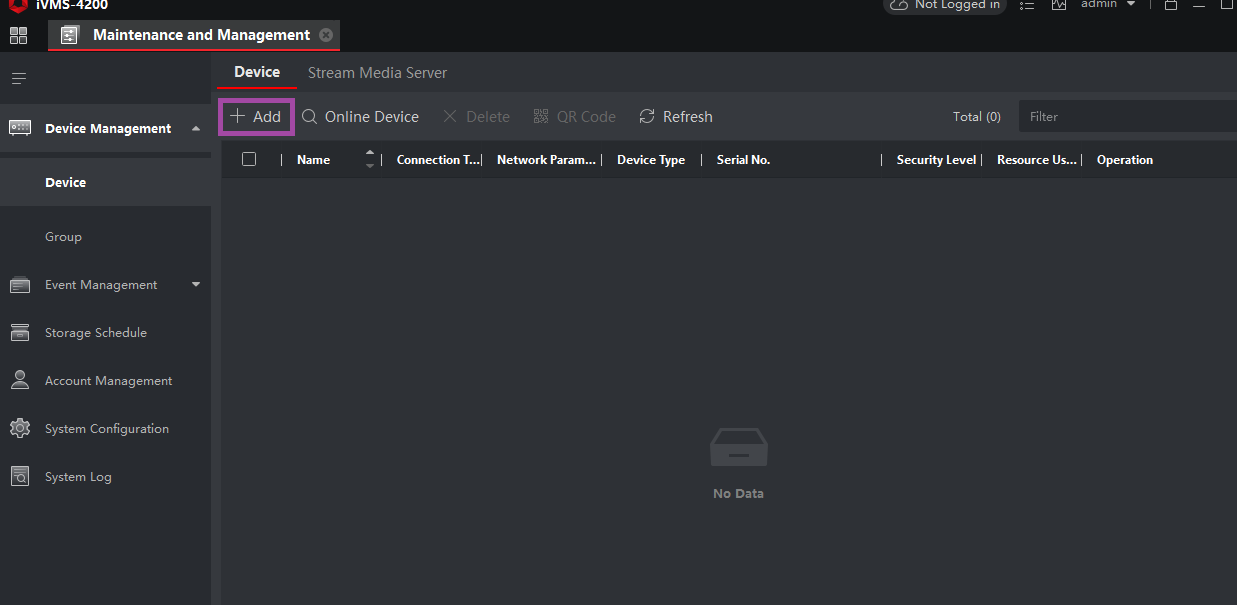
On this screen simply click on the Add button and then on the right side a new screen popped asking for your DVR network details.
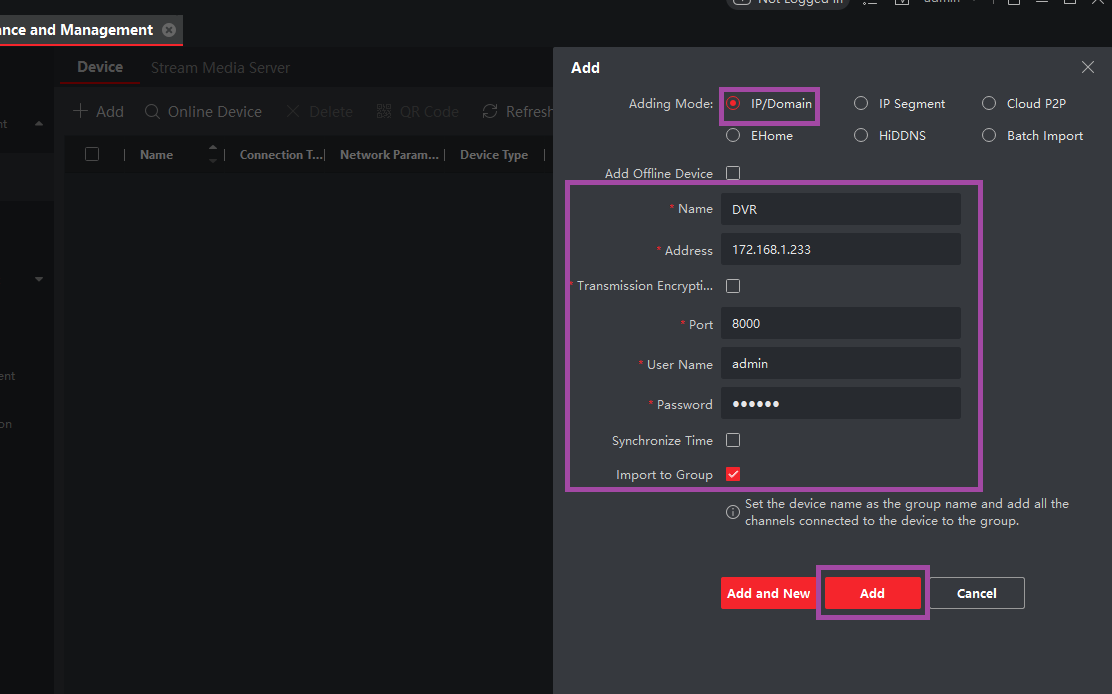
Here you can find some different methods for adding your DVR into the software called adding mode, you may choose one of them according to your need but keep in mind that what adding method is on your DVR and you have to choose the same one.
Fill all the details into the corresponding boxes. In my case, I choose the IP address as the adding mode. If your DVR is running on the cloud server (Hik connect) then you have to select the “CloudP2P” option.
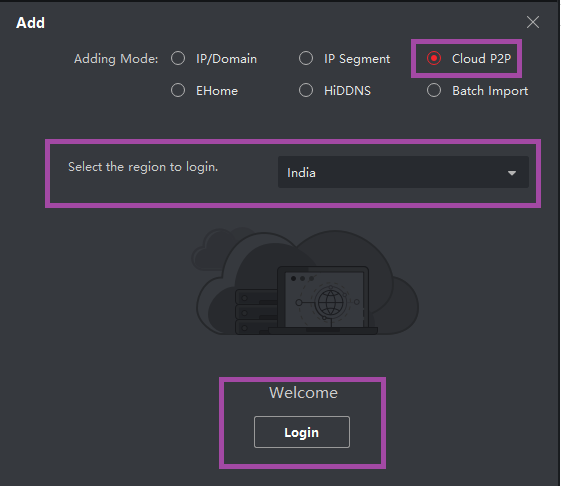
After selecting the cloud option, a new screen will show to you as above in the picture. Select the correct region and click on the “Login” button.
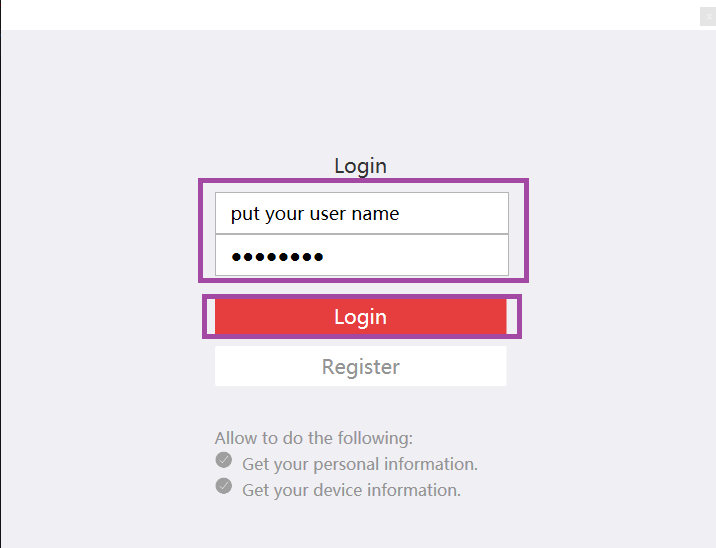
Then fill in your existing cloud (Hik connect) username and password and click on the “Login” button. If you do not have an account then you also register the new one.
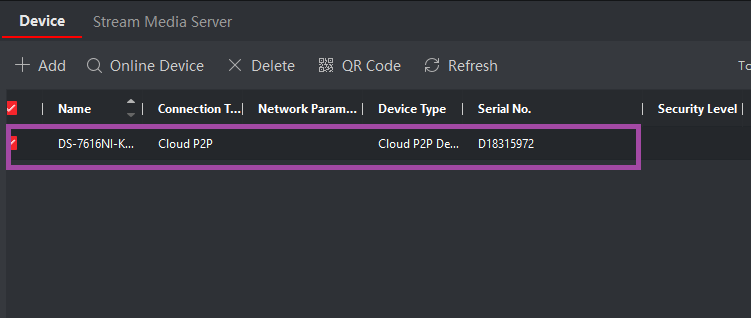
Now your DVR will be added to the Hikvision Software and you can see the detail shown in the picture above. Now you can your DVR’s cameras on your PC.
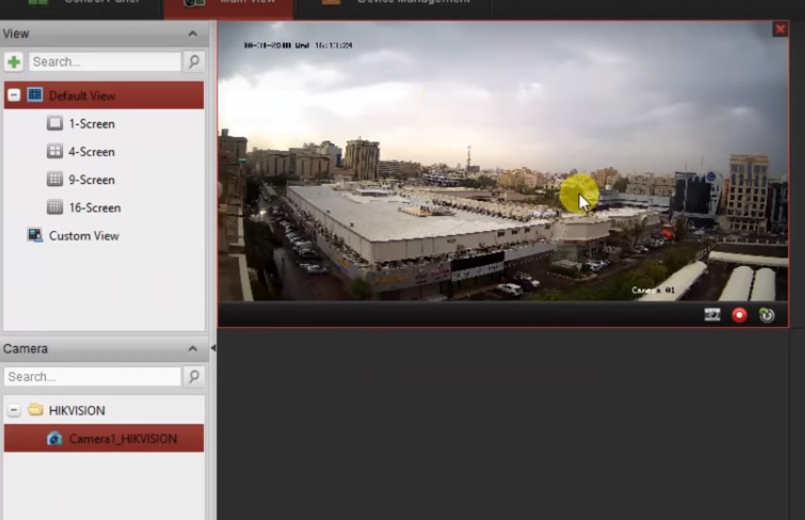
STEP 4 # Monitor the Live View
Now move to the main control panel of the DVR software and now you can see your DVR on the left span. Double-click the DVR’s name and now click on the camera name. The camera will now be connected to your computer screen.
Conclusion
Here we explained how you can see your Hikvision CCTV cameras on your computer. This configuration is for Windows users. You can apply the same method to your MAC computer.
The Hikvision DVR CMS is very nice to monitor and configure your CCTV cameras on your PC. In this software, you can add any other device manufactured by Hikvision like NVR, IP camera, attendance machine, access control, etc.
So this is about the Hikvision DVR CMS Application. You may send us any kind of inquiry concerning this. If you have any trouble getting your DVR/NVR on your PC using Hikvision software, feel free to ask in the comment box. You may likewise give your suggestions. Much obliged to you for visiting us. Have a good day.
Thank You.